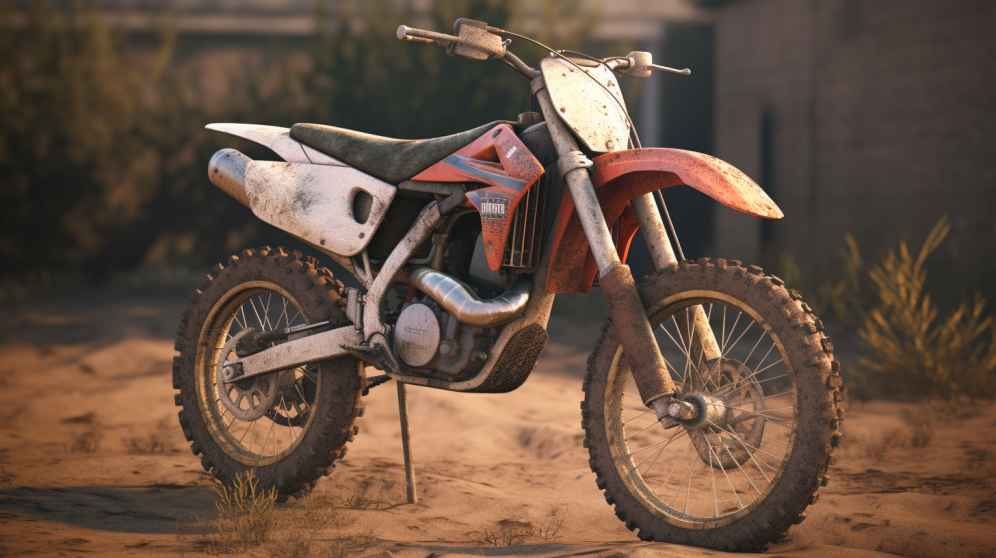
Are you looking to give your dirt bike a new look? Wrapping your bike is a great way to customize its appearance and protect the original paint. In this comprehensive guide, we’ll take you through the steps of wrapping your dirt bike, from choosing the right materials to applying the wrap with precision.
If you’re a dirt bike enthusiast, you know that one of the best ways to make your bike stand out is by customizing its appearance. One of the most popular ways to do this is by wrapping your dirt bike. Not only can wrapping your bike give it a new look, but it can also protect the original paint and increase resale value. In this guide, we’ll take you through the steps of wrapping your dirt bike like a pro.
Materials Needed
Before you begin wrapping your dirt bike, you’ll need to gather the following materials:
- Vinyl wrap
- Heat gun or hair dryer
- Razor blade or knife
- Squeegee or similar tool
- Cleaning solution (alcohol or soapy water)
- Microfiber cloth or towel
It’s important to use high-quality vinyl wrap that is specifically designed for use on vehicles. This will ensure that the wrap adheres properly and is able to withstand the elements.
Preparing Your Dirt Bike
Before applying the vinyl wrap, you’ll need to thoroughly clean your dirt bike to remove any dirt, grime, or grease. You can use either alcohol or soapy water as a cleaning solution, depending on the level of grime on your bike. After cleaning, use a microfiber cloth or towel to dry the bike completely.
Next, you’ll need to remove any removable parts, such as the seat, fenders, and number plates. This will make it easier to wrap the bike and ensure that you get a seamless finish.
Applying the Vinyl Wrap
Now that your bike is clean and prepped, it’s time to apply the vinyl wrap. Start by measuring the amount of vinyl wrap you’ll need to cover your dirt bike. It’s best to have a few extra inches on each side, just in case.
Next, begin applying the wrap from the center of the bike and work your way outwards. Use a squeegee or similar tool to smooth out any bubbles or wrinkles in the wrap. Be sure to use a heat gun or hair dryer to heat up the wrap as you go, as this will help it conform to the contours of the bike.
When you reach a corner or curve, use a razor blade or knife to make small cuts in the vinyl wrap. This will allow you to manipulate the wrap and get a seamless finish.
Once you’ve applied the vinyl wrap to your dirt bike, use a heat gun or hair dryer to heat up the wrap once more. This will help to set the wrap in place and ensure that it adheres properly.
Finishing Touches
After applying the vinyl wrap, you can reattach any removable parts that you removed earlier. This will give your bike a finished look and ensure that all parts are securely attached.
Finally, use a heat gun or hair dryer to heat up any remaining bubbles or wrinkles in the vinyl wrap. This will ensure that you have a smooth and seamless finish.
With these simple steps, you can give your dirt bike a new look and protect the original paint at the same time. Wrapping your dirt bike is a cost-effective way to customize your bike, as vinyl wraps are typically less expensive than custom paint jobs.
When choosing a vinyl wrap for your dirt bike, you’ll have a wide range of colors and designs to choose from. You can opt for a bold, eye-catching design or a more understated look. Whatever you choose, be sure to select a vinyl wrap that is specifically designed for use on vehicles.
In addition to adding style to your dirt bike, wrapping your bike can also protect it from scratches, chips, and other forms of damage. Vinyl wraps are durable and can withstand the elements, making them a great option for dirt bikes that are used in off-road environments.
If you’re interested in wrapping your dirt bike but don’t feel comfortable doing it yourself, there are plenty of professional wrap installers that can do the job for you. Just be sure to choose a reputable installer that has experience working with dirt bikes and other off-road vehicles.
Adding Decals and Stickers
Adding decals and bumper stickers to your dirt bike is another popular way to customize its appearance. Decals and bumper stickers are a quick and easy way to add some personality to your bike without the cost and commitment of a vinyl wrap or custom paint job.
When choosing decals and bumper stickers for your dirt bike, it’s important to choose ones that are specifically designed for use on vehicles. Look for decals and stickers that are made from high-quality vinyl and are able to withstand the elements.
When applying decals and bumper stickers to your dirt bike, it’s important to start with a clean and dry surface. Use a microfiber cloth or towel to wipe down the area where you’ll be applying the decal or sticker. This will ensure that the decal or sticker adheres properly and stays in place.
When applying the decal or sticker, use a squeegee or similar tool to smooth out any bubbles or wrinkles. Be sure to take your time and work slowly to ensure that you get a smooth and even finish. If you need to reposition the decal or sticker, gently peel it off and reapply it in the desired location.
Be sure to choose a location that is clean and flat for your bumper stickers. Avoid placing bumper stickers on curved surfaces, as this can cause the sticker to peel or lift over time.
In addition to adding style to your dirt bike, decals and bumper stickers can also serve a functional purpose. You can add stickers that showcase your favorite brands or sponsors, or add reflective decals to increase visibility when riding at night.
Final Thoughts
In conclusion, wrapping your dirt bike is a great way to customize its appearance and protect the original paint. With the right materials and a little bit of patience, you can easily wrap your dirt bike and give it a new look. Whether you choose to do it yourself or have it professionally installed, a vinyl wrap is a cost-effective way to upgrade your dirt bike and make it stand out from the crowd.