
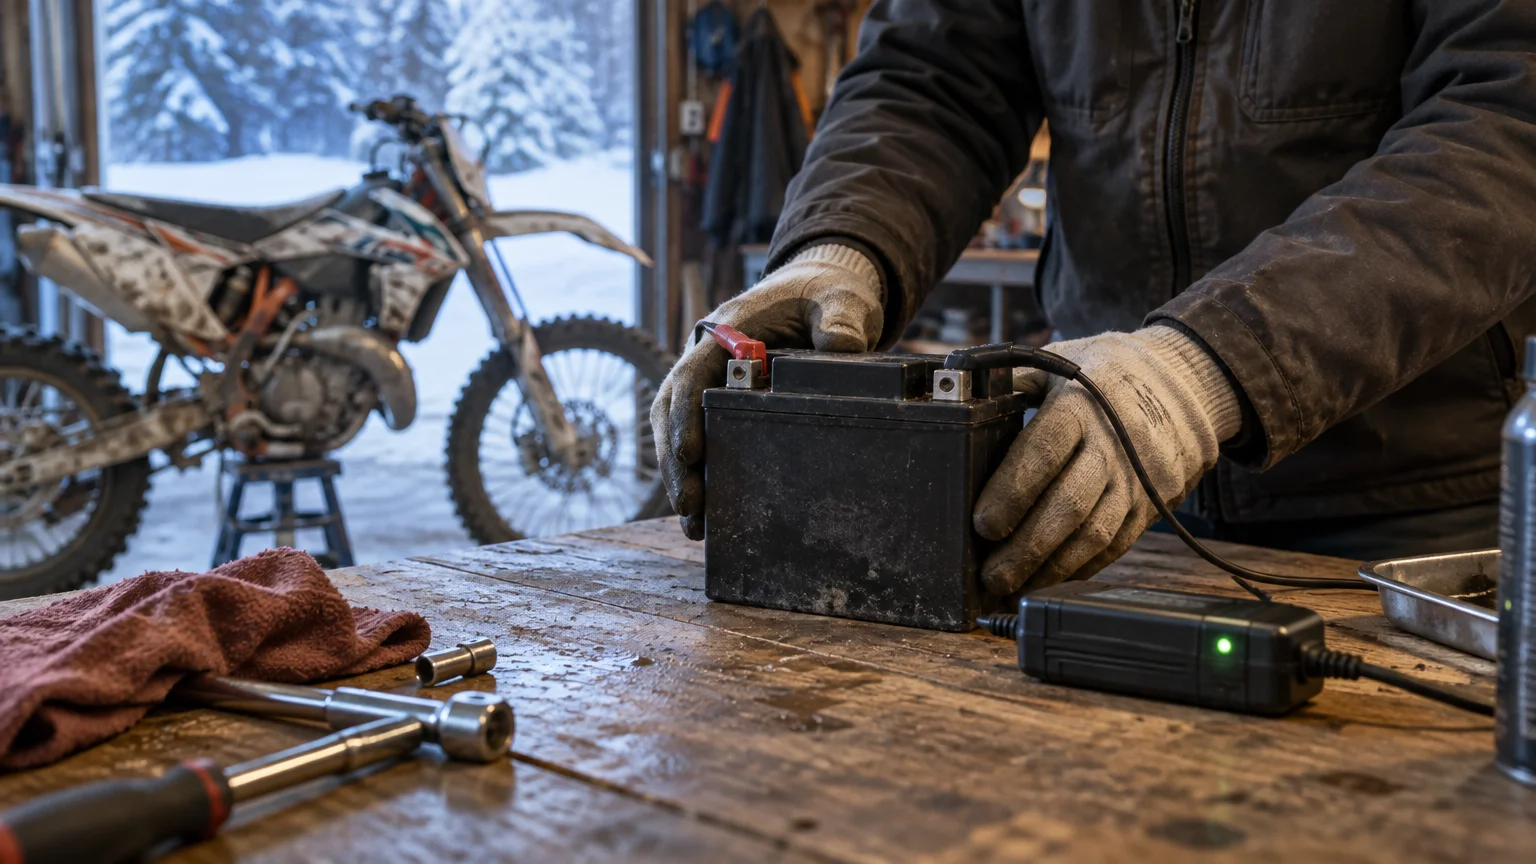
TLDR: Charge it, disconnect it, and respect the chemistry
The reliable dirt bike battery winter storage plan is simple: identify the battery chemistry, fully charge it with a compatible charger, eliminate electrical draw, and either connect an appropriate automatic maintainer or inspect and recharge the battery according to its manufacturer’s instructions. Keep it dry, protect the terminals, and do not assume one charger works for flooded lead-acid, AGM, and lithium batteries.
If the bike will sit for months, disconnecting the battery or removing it is usually the cleanest way to stop parasitic drain. If the dirt bike becomes a snow bike and gets ridden intermittently, it is not actually in storage. Treat the battery as part of an active cold-weather machine and investigate any repeated discharge rather than continually reviving it with a charger.
Start dirt bike battery winter storage with the label
Before reaching for a charger, read the battery label. You are likely dealing with one of three broad types: conventional flooded lead-acid, sealed AGM or VRLA, or lithium, often marked LiFePO4. Then check the bike owner’s manual and the battery manufacturer’s instructions. These battery types are not interchangeable when it comes to charging and storage.
This matters most with lithium. Antigravity specifies lithium-compatible charging for its LiFePO4 starter batteries and warns that lead-acid desulfation modes can damage them. That is Antigravity product guidance, not a universal specification for every lithium battery, but it illustrates why blindly using an old shop charger is risky.
| Battery or use case | Storage priority | Charging approach |
|---|---|---|
| Conventional flooded lead-acid | Store fully charged, eliminate vehicle draw, and inspect it more frequently than a sealed AGM battery | Use a charger or maintainer approved for that battery; follow label instructions for inspection and service |
| AGM or VRLA lead-acid | Fully charge it and disconnect or remove it if the bike will sit | Use an AGM-compatible automatic maintainer or a periodic inspection and recharge plan |
| Lithium or LiFePO4 starter battery | Follow the battery maker’s storage-state and temperature instructions | Use only a charger the battery manufacturer approves; avoid incompatible desulfation programs |
| Bike stored without electrical power nearby | Remove or disconnect the charged battery and schedule manual checks | Recharge with a compatible charger when inspection or manufacturer guidance calls for it |
| Snow bike ridden intermittently | Treat it as an active machine and watch for cold cranking or unexpected drain | Check charge after long gaps; do not assume every short ride replenishes the battery |
A practical winter-storage checklist
Do the battery work after cleaning and preparing the bike, not after it has already been forgotten in a trailer for six weeks. A straightforward process catches most of the problems that become spring no-starts.
- Identify the battery chemistry and find the instructions for both the battery and the exact bike model.
- Inspect the case for cracking, leaking, swelling, impact damage, or distorted terminals. Replace a physically damaged battery rather than attempting to maintain it.
- Check the cables, terminal boots, and nearby wiring for corrosion, looseness, chafing, or damaged insulation.
- Fully charge the battery with a charger approved for its chemistry. Yuasa recommends charging before storage and disconnecting the cables during long periods of storage or infrequent use.
- Disconnect or remove the battery when appropriate for the bike. Follow the owner’s manual for the correct removal sequence and any model-specific concerns.
- Choose between a compatible automatic maintainer and a scheduled inspect-and-recharge plan. Do not substitute an unregulated trickle charger simply because it has the right clamps.
- Store the battery upright where required, dry, secure against being knocked over, and protected from direct weather and accidental short circuits.
- Reinspect it during winter. Conventional batteries generally require more frequent attention than AGM batteries, according to Yuasa’s storage guidance.
Should you remove the battery or just disconnect it?
Either can work when the manufacturer permits it. Honda’s storage guidance for the referenced CRF manual allows battery removal or, if the battery remains installed, disconnection of the negative terminal. That does not make the same procedure universal for every motorcycle, especially where access is tight or the bike contains model-specific electronics.
Removal makes sense when the bike is stored somewhere damp, exposed, unpowered, or difficult to inspect. It also lets you examine the battery box and cables. Leaving the battery installed can be convenient in a clean, accessible garage, provided you disconnect it or use a suitable maintainer as directed.
Do not place a removed battery where tools, hardware, or loose metal can bridge its terminals. Secure the terminal covers, and keep the battery away from heat, sparks, and physical damage. If it is a conventional serviceable battery, follow its own handling and ventilation instructions rather than treating it like a sealed unit.
Battery maintainer versus periodic charging
An automatic battery maintainer monitors the battery and adjusts or stops charging as needed. A basic trickle charger may continue supplying current without making the same decisions. Those terms are sometimes used loosely on packaging, so read the actual operating description instead of trusting the product name.
A maintainer is useful when the bike is parked near reliable power and the device is approved for the battery chemistry. A disconnect-and-check plan is often better in an unpowered shed or trailer. Neither approach excuses you from inspecting the cables, case, and charger leads.
For lead-acid storage, the useful fundamentals are a full initial charge, isolation from vehicle drain, and charge monitoring. The Yamaha-hosted battery instruction and safety information also explains why maintaining a high state of charge matters in cold storage: a discharged lead-acid battery is more vulnerable to freezing.
Avoid inventing a universal recharge interval. Battery design, condition, storage temperature, attached electrical loads, and manufacturer requirements all change the answer. Check the battery instructions, then put the inspection date on your calendar instead of relying on memory.
Cold weather can make a healthy battery look weak
A cold morning changes what the starter can get from the battery. This is especially noticeable with some lithium starter batteries. The 2020 KTM 300 XC-W TPI manual says its lithium-ion starter battery can deliver reduced starting power below 15°C or 60°F. It specifies short, separated starter-button presses to warm that battery before starting.
That procedure is model-specific. Do not copy its timing onto a different bike without checking that bike’s manual. The broader lesson is that weak initial cranking in the cold does not automatically prove a lithium battery is ruined. Warm-up behavior, charger compatibility, battery condition, oil viscosity, starter condition, and electrical connections can all affect what you hear at the starter.
Lead-acid batteries have a different winter concern: leaving one partially discharged increases the risk of storage damage and freezing exposure. Charging it before storage is not optional housekeeping. It is the central protection.
The snow-bike exception: parked is not stored
A dirt bike converted for winter use occupies an awkward middle ground. It might sit for three weeks, run hard for a weekend, and then return to a freezing trailer. If that sounds like your schedule, use an active-machine routine rather than a set-it-and-forget-it storage routine.
- Check the state of charge after long gaps between rides.
- Inspect battery leads and accessory wiring for looseness, abrasion, and moisture exposure.
- Account for added electrical equipment instead of assuming the stock charging system covers every accessory under every riding condition.
- Investigate repeated discharge as a possible parasitic-draw, connection, battery, starter, or charging-system problem.
- Recharge with the correct charger before the next ride rather than expecting a brief run to recover a deeply discharged battery.
Battery access and accessory loads deserve attention when planning a conversion. Riders still selecting a winter setup should include electrical service access in the broader list of points to check before converting a dirt bike into a snow bike. A conversion that buries the battery behind brackets or bodywork can turn a two-minute inspection into a skipped maintenance job.
Spring wake-up: inspect before you crank
Do not reinstall a battery and immediately lean on the starter. First inspect the case, terminals, cable ends, and surrounding wiring. Look for cracks, leaks, swelling, corrosion, damaged insulation, or evidence that the battery moved in storage. If anything looks unsafe, stop and consult the battery manufacturer or a qualified technician.
Charge the battery with the correct equipment before relying on it. Install and tighten it according to the bike manual; terminal torque and cable routing are model-specific. Confirm that the terminals cannot contact the frame, seat base, tools, or bodywork.
If the battery repeatedly goes flat, another recharge is not a repair. The next step is diagnosis: test battery condition, charging-system output, connections, and key-off current draw using the specifications and procedure for that motorcycle. A battery that cannot hold charge may be worn out, but a new battery will also fail if an unresolved drain or charging fault remains.
The takeaway
Good dirt bike battery winter storage comes down to three decisions: identify the chemistry, stop unwanted electrical draw, and use a compatible charging plan. Fully charge a lead-acid battery before parking it, be especially careful about charger compatibility with lithium, and treat an intermittently ridden snow bike as an active machine. Do that work now, and spring startup is far more likely to be a ride day instead of a battery-shopping day.