
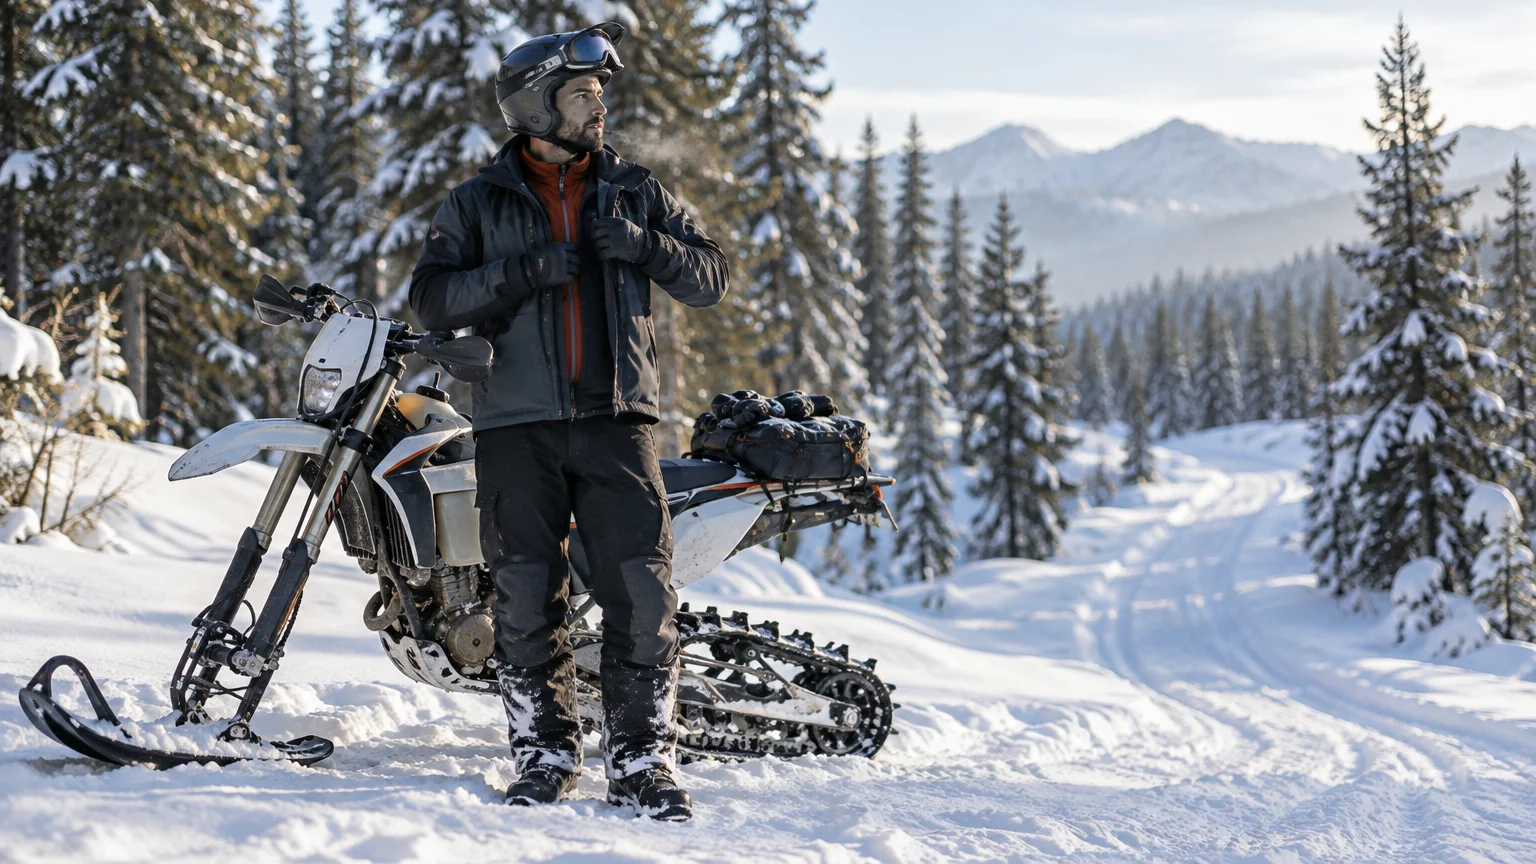
TLDR: A good snow bike layering system starts with a close-fitting, non-cotton base layer, adds only enough adjustable insulation for the work rate, and finishes with a windproof, snow-shedding shell. Begin slightly cool, vent before hard riding makes you sweat, seal the shell before fast transfers, and carry a protected dry base top, gloves, and socks.
The biggest mistake is dressing for the temperature beside the truck instead of the workload on the bike. Digging out a track, wrestling through tight trees, and repeatedly lifting a machine can generate serious heat. Then the trail opens, speed increases, and cold air strips that heat away. A useful snow bike layering system must handle both phases without sacrificing armor, movement, or control feel.
Build the snow bike layering system from the skin out
Moisture management comes first, adjustable warmth second, and wind protection third. The Motorcycle Safety Foundation recommends thermal underwear, insulating layers, and a windproof outer layer for cold-weather motorcycling. It also stresses that protective equipment must preserve warmth, dryness, and injury protection because numbness can interfere with motorcycle control. MSF personal protective gear guidance
| Zone or layer | Primary job | What to prioritize | Common failure |
|---|---|---|---|
| Base layer | Move perspiration away from the skin | Close fit, quick drying, full movement, flat seams | Cotton or a loose, saturated shirt stays wet against the body |
| Midlayer | Trap adjustable warmth | Breathable fleece or light synthetic insulation that packs easily | One heavy layer is difficult to regulate during changing effort |
| Armor and riding protection | Maintain impact and abrasion protection | Correct fit, full range of motion, unobstructed vents and closures | Bulky insulation shifts armor or limits movement |
| Outer shell | Block wind and shed snow | Useful vents, sealed closures, mobility, compatibility with boots and gloves | A fully closed shell traps sweat during technical riding |
| Hands | Preserve warmth and lever control | Dexterous riding gloves plus a dry, warmer spare pair | Thick gloves reduce feel; wet gloves chill quickly |
| Feet | Keep feet dry without restricting circulation | Dry socks, correctly fitted boots, room to move toes | Extra socks make the boot tight and feet colder |
| Head and face | Protect exposed skin while controlling moisture | Helmet-compatible coverage and clear breathing paths | Breath is directed into the goggles and causes fogging |
Base layer: keep moisture moving
Wear a synthetic or wool base layer directly against the skin. It should fit closely enough to move moisture but not bind at the shoulders, elbows, hips, or knees. Avoid cotton as the primary next-to-skin layer. Once cotton absorbs sweat, it is slow to become useful again in cold conditions, especially when buried beneath armor and a shell.
That wet layer is more than an annoyance. The CDC notes that hypothermia can occur above 40°F when a person becomes chilled after getting wet from rain, sweat, or cold water. Its guidance recommends loose-fitting layers and replacing wet clothing with dry clothing. CDC hypothermia prevention guidance
Midlayer: use adjustable warmth, not maximum bulk
For active riding, start with a breathable fleece or light synthetic midlayer rather than a huge insulated jacket. A lighter layer is easier to vent, remove, or stash. Pack a warmer insulating piece for long exposed transfers, mechanical delays, recovery stops, or the ride back after the day’s hardest work is finished.
Down can provide excellent warmth for its packed size, but it needs protection from sweat and snow. Treat a puffy as a packed warmth layer unless its design and the day’s conditions make it suitable under the shell. The working layer should tolerate repeated venting, movement, and occasional moisture.
Armor: protect the rider without blocking the system
Armor placement depends on the equipment. Some pressure suits are intended to sit close to the body; other protective jackets combine armor with the outer riding layer. Follow the manufacturer’s fit instructions. Whatever arrangement you use, confirm that the protectors stay in position, the shell vents remain accessible, and you can stand, turn, reach the bars, and pick up the bike without tight spots.
Shell: stop wind without creating a sauna
The shell must block wind during speed and shed snow when you step off into deep powder. It also needs vents that can be operated with gloves. Pit, chest, thigh, or side vents are valuable only if armor and midlayers do not cover them. Check cuff overlap with gloves, pant overlap with boots, and exposed gaps at the waist or neck before leaving.
Dress for the work phase, then pack for the transfer
A thermometer cannot describe the whole ride. Snow texture, speed, terrain, wind, humidity, sun, and the number of stuck bikes all change the heat load. Plan around the hardest work and the coldest low-output section rather than trying to find one magic combination.
- Technical trees and deep snow: Favor a light, highly ventable setup. You may spend more energy correcting the bike, walking, digging, and lifting than cruising.
- Mixed trail and play riding: Use a breathable midlayer with fast-access shell vents. Expect to adjust the system repeatedly.
- Fast, exposed transfers: Close vents before accelerating and add insulation before becoming chilled. Wind protection matters more as speed rises.
- Wet snow or thaw conditions: Prioritize a shell that sheds wet snow, dry gloves, and protected replacement layers. Change genuinely soaked clothing rather than expecting body heat to fix it.
Terrain also changes effort. Reading powder, crust, slush, and tracked snow before committing can reduce unnecessary digging and energy use; the same clues are covered in this guide to choosing snow-bike lines by snow texture.
Vent before you sweat
Do not wait until sweat is running down your back. Clothing has thermal lag: by the time you feel overheated, moisture is already building inside the system. Make adjustments just before the terrain changes.
- Start slightly cool. If you feel perfectly warm while standing beside the bike, you may be overdressed for technical riding.
- Open shell vents before entering deep snow, tight trees, or a section where bikes are likely to get stuck.
- Loosen or remove insulation early. Store removed layers in a dry bag instead of packing them against wet tools or snow-covered recovery equipment.
- Before a fast trail or exposed descent, close the shell and add insulation while you still feel warm.
- At a stop, avoid standing in wet layers with the shell open. Seal up promptly or change the saturated layer.
- If the base layer is genuinely soaked and the ride is becoming colder or less active, use the dry replacement you packed for that purpose.
This routine sounds fussy at the truck. On the trail it becomes as normal as adjusting goggles or checking fuel. A 30-second vent change is easier than recovering from a soaked shirt during a windy ride home.
Hands, feet, and goggles can ruin an otherwise good setup
Use working gloves and warm backup gloves
The warmest glove is not automatically the best riding glove. You still need to operate the clutch, front brake, throttle, switches, and controls precisely. Use a glove that provides adequate warmth without bunching at the palm or restricting finger movement. Carry a dry spare pair or spare liners in a sealed bag. A warmer glove can be reserved for transfers or stops.
If gloves become wet while digging, change them before the next high-speed section. Heated grips or suitable heated equipment may help in some conditions, but heat does not restore wet insulation or correct poor fit. Route and protect any electrical connection according to the equipment instructions so it cannot snag or interfere with steering and controls.
Do not crush feet with extra socks
One appropriate sock inside a properly fitted boot usually beats stacking socks until the boot is tight. Compression reduces space for insulating air and can restrict circulation. Confirm that you can move your toes and still feel the pegs, brake pedal, and shifter. Carry dry socks because snow entering the boot or sweat accumulating during hard riding can defeat the first pair.
Control breath before blaming the goggles
A balaclava or neck tube should cover exposed skin without channeling exhaled air directly into the goggles. Keep the helmet’s intended vents clear, seat the goggles evenly, and avoid burying their lower edge under bulky fabric. When stopped after hard work, open the helmet or move the face covering briefly so humid air can escape before it freezes or condenses on the lens.
Carry a dry recovery kit
Pack replacement clothing separately from machine tools, fuel, and wet recovery gear. A waterproof roll-top bag or sealed liner is cheap insurance. The purpose is not to carry an entire wardrobe; it is to restore the parts of the system most likely to become saturated.
- Dry base-layer top
- Dry gloves or glove liners
- Dry socks
- Packable insulating jacket
- Backup neck or face layer
- Water and quick calories
- Waterproof bag for wet clothing
- Emergency equipment appropriate to the location and group plan
Keep the apparel recovery kit distinct from the tools and parts needed for the machine. Broader risks—including weather exposure, changing traction, visibility, and route decisions—should be considered before departure; see the safety and risks of dirt biking in snow for that wider planning discussion.
Know when cold has become a safety problem
Shivering, exhaustion, confusion, fumbling hands, slurred speech, and drowsiness are warning signs of hypothermia. Stop riding, shelter the person from further exposure, replace wet clothing with dry layers, and seek appropriate emergency help rather than treating those signs as ordinary discomfort.
Motorcycle control is an early practical test. If fingers cannot work the controls reliably, feet cannot feel the pegs, or the rider is making confused decisions, the group has already waited too long to address the cold. Turn the situation into a warming and recovery problem, not a toughness contest.
Clothing does not replace machine preparation
A warm rider can still be stranded by a neglected snow-bike system. Timbersled’s ARO maintenance guidance calls for post-ride inspection and identifies areas including brakes, chains, lubrication, fasteners and torque checks, rear-kit condition, hyfax, and track condition. It directs owners to the applicable manual for procedures and specifications.
Use the current manual for both the exact snow-bike system and the host motorcycle. Timbersled’s model-specific documentation likewise directs riders to consult the snow-bike-system manual and the host-bike manual; values or procedures from one kit or model year should not be generalized to another. Riders still planning a build can start with the compatibility and ownership questions in this dirt-bike-to-snow-bike conversion guide.
The practical takeaway
Dress for the hardest work, carry insulation for the fastest and least active parts of the ride, and protect a dry replacement layer from everything else in the pack. Start slightly cool, vent before the climb or technical section, and seal up before speed exposes you to wind. If sweat or wet snow defeats the first setup, change layers early. The best snow bike layering system is not the thickest one—it is the one you can adjust before discomfort becomes lost dexterity, fogged vision, or a genuine cold-weather emergency.