
TLDR
Smooth riding is the result of making decisions early. Look farther ahead, brake progressively, settle your body before the turn, maintain light drive through the corner and add throttle as the exit opens. Practice each control separately at low speed, then connect the pieces. Speed should be the result of a clean line and stable motorcycle—not a substitute for either one.
A rider who charges every straight and attacks every control can feel fast while wasting traction and energy. The genuinely quick rider often looks almost uneventful: fewer corrections, less wheelspin, cleaner lines and a motorcycle that stays composed underneath them.
Smooth does not mean slow
Smoothness is not timid riding. It means your braking, steering, body movement and throttle application happen in a useful order. Each action prepares the bike for the next one instead of forcing you to rescue a bad situation halfway through it.
The Motorcycle Safety Foundation treats off-highway control as a coordinated package involving posture, vision, lower-body control, clutch and throttle use, progressive braking, turning and terrain-based decisions. Its DirtBike School overview is a useful reminder that no single body-position trick creates complete technique.
| Rushed input | What it does to the bike | Smoother replacement |
|---|---|---|
| Staring at the front fender | Delays line selection and makes obstacles feel sudden | Lift your eyes and scan toward the next decision point |
| Grabbing the brakes at turn-in | Loads the chassis while you are also asking it to turn | Choose a braking point and reduce most of your speed earlier |
| Snapping the throttle open | Encourages wheelspin, abrupt weight transfer and extra corrections | Apply light drive, then roll on as the exit opens |
| Changing posture mid-corner without a plan | Adds steering input and unsettles your balance | Complete the major transition before committing to the turn |
| Chasing every bump with the bars | Tires the upper body and magnifies small deflections | Support yourself with your legs and let the bike move underneath you |
Look far enough ahead to ride on purpose
Most ugly control inputs begin as a vision problem. If you notice a braking bump, rut or tightening corner late, your hands must make an urgent correction. Look through the section instead: identify the braking area, the entry, the main traction feature and the exit.
Do not lock your eyes onto the obstacle you want to miss. Give it enough attention to understand its location, then move your vision toward the path you intend to ride. Your pace should leave enough mental bandwidth to keep that scan moving. If every feature arrives as a surprise, back the speed down until your eyes get ahead of the motorcycle.
Finish the hard braking before adding lean
Pick a repeatable braking marker and squeeze the controls progressively rather than stabbing at them. MSF practice guidance calls for using both brakes, notes that the front supplies most braking power and advises reducing lean angle before increasing brake pressure. It also tells riders to recognize rear-wheel skids and front-wheel lock.
The goal is not to avoid every brake input once the bike begins turning. It is to eliminate the panicked handful of brake caused by entering too fast. Arrive with the motorcycle under control, release pressure deliberately and preserve enough traction for the turn.
For isolated practice, the MSF off-highway practice guide uses a 100-foot approach in its straight-line braking drill. Riders start slowing before the stop markers and stop without skidding, repeating the exercise in different gears and eventually while standing. Use a clear practice area, set an easy pace and judge success by control and repeatability rather than the shortest possible stop.
Build the corner as one connected sequence
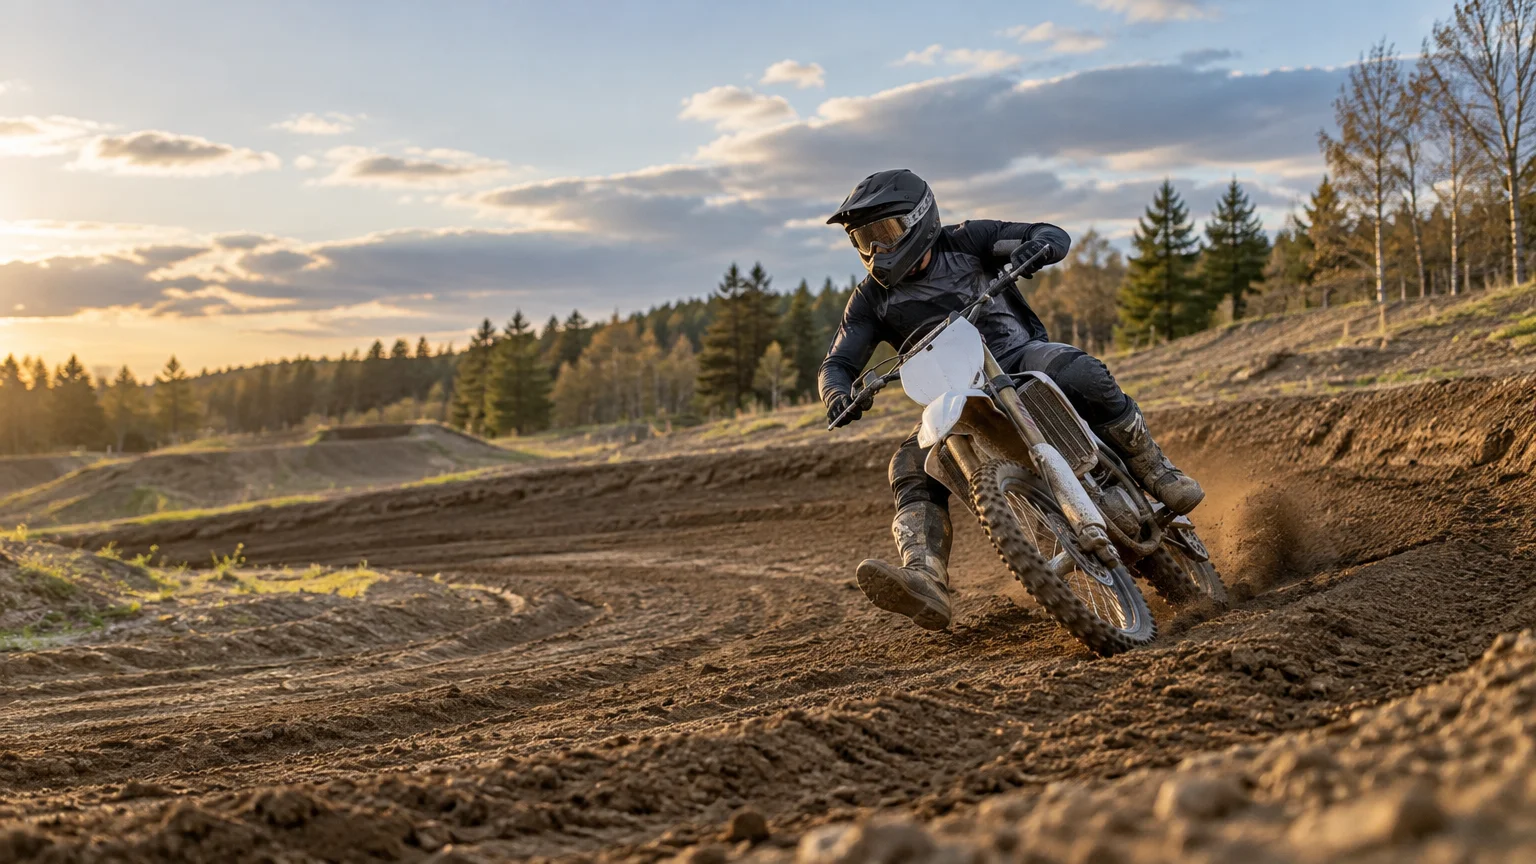
A clean corner has a rhythm: slow, look, lean and roll. MSF teaches riders to keep their head and eyes up, reduce speed before entering and increase throttle gently on the exit. That simple sequence fixes a lot of riding because it gives every control one main job at a time.
Former factory rider Jay Marmont described a practical routine in Dirt Rider’s cornering coaching: choose a braking point, brake while standing, make a deliberate transition, carry light and steady drive through the turn, then roll on as the exit opens. That is coaching rather than a universal formula, but the sequence is valuable because it replaces improvised movement with planned movement.
Do not turn body position into a rigid pose. MSF teaches both seated and standing turns, and its sharp-turn guidance has the rider remain centered while allowing the motorcycle to lean underneath. Terrain, traction, speed and turn radius determine the useful position. A tight flat turn, a supported berm and a loose downhill corner should not all look identical.
Use the throttle to preserve traction
The throttle is not an on-off switch. Light drive can keep the chassis settled, but a sudden opening can spin the rear tire and force you to close the throttle again. That cycle—open, spin, chop, repeat—is the opposite of smooth.
Choose a gear that gives controllable drive for the section. In whoops, Doug Dubach advises looking ahead, building speed gradually, using the legs for stability and avoiding choppy throttle. He also presents a higher gear as a situational way to maintain rear-wheel drive instead of spin, not as a rule for every motorcycle or section.
Mechanical drag can sabotage good technique. Dust or sand in the throttle assembly can make its action rough or slow. Check that the throttle returns freely, the grip does not rub the bar end and the cables do not bind as the handlebar moves through its range. If the control feels gritty or reluctant, fix the bike before trying to train around it.
Let your legs carry the workload
A death grip makes every bump travel into your shoulders and every deflection feel like an emergency. Support your mass through the footpegs, use your knees and legs to stabilize the bike when appropriate, and keep enough bend in your arms to steer without hanging from the handlebar.
Standing is useful when the terrain demands mobility and isolation from repeated impacts, but sitting is not a failure. Sit when the turn and traction call for it; stand when you need greater freedom to absorb terrain or move your mass. The transition matters most. Move deliberately rather than collapsing onto the seat or hauling yourself upright with the bars.
Practice accuracy before intensity
A small practice area can expose more than another frantic trail loop. MSF’s turning progression begins with a 60-foot oval, tightens that into circles and then combines the turns into a figure eight. Its weaving drill starts with five markers spaced 20 feet apart and reduces the spacing to 10 feet only after clean passes.
- Ride a large oval at an easy pace. Pick one braking marker and one point where you begin adding throttle.
- Reverse direction so one comfortable side does not hide the weaker one.
- Tighten the oval only after you can repeat the line without abrupt braking or throttle changes.
- Connect two circles into a figure eight and make the transition through the middle deliberate.
- Add a simple weave. Reduce marker spacing only after you can pass cleanly while keeping your eyes ahead.
- Finish with several normal laps and carry the same calm sequence into changing terrain.
Wear appropriate protective equipment and keep drills away from traffic, spectators and hidden obstacles. MSF recommends a DOT-compliant helmet, goggles, gloves, long sleeves and pants, and over-the-ankle boots for dirt-bike riding. Our breakdown of motocross gear covers the basic equipment choices in more detail.
Do not blame every rough lap on technique
A badly matched or poorly maintained motorcycle can make a disciplined rider look busy. Check the controls, tires, chain, brakes and suspension against the manual for the exact model and year. Do not copy universal clicker, sag, pressure or torque numbers from another bike.
Honda’s 2005 CRF250R manual, for example, says an overly firm rear spring for the rider can reduce rear-tire hookup and transmit more bumps. It also warns that excessive rebound damping can keep the wheel from returning to the ground quickly enough across repeated bumps, reducing traction. Those are model-specific setup notes, but they illustrate why a bike that skips and deflects deserves mechanical inspection as well as rider analysis.
Traction also changes the technique. Mud, hardpack, sand and snow do not reward identical inputs. If winter is part of your riding calendar, review the additional risks of dirt biking in snow before treating a low-traction drill like a normal dirt session.
Make clean laps the scoreboard
Stop judging every session by peak speed. Count clean braking zones, deliberate transitions, steady exits and laps completed without a major correction. Once those become repeatable, increase the pace a little and see whether the technique survives.
That is the real test of smooth riding: not whether one corner looked perfect, but whether the same calm control remains when the ground gets rough, traction changes and fatigue arrives. Build the sequence first. Speed will have somewhere solid to live.